The initial part of the Ponseti method begins with weekly castings that are meant to gently manipulate the feet into the correct position. The early stages of treatment are part of a process that requires commitment by both families and your Orthopaedic Care Support Team. This will help to achieve and maintain optimum results.
 |
Supplies for breastfeeding or bottle feeding |
 |
A pacifier or comfort object |
 |
You can ask about using sugar water on a binky to help soothe the baby |
|
Bath supplies like a washcloth are helpful for cleaning between casts |
|
 |
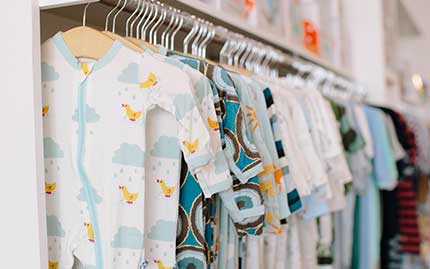
Spare clothes in case plaster gets on original ones |
This document does not take the place of professional medical advice, however we always advise getting a second opinion if you feel as though your child’s treatment is deviating from the original plan your doctor gave you. Improper casting can compromise treatment. A typical clubfoot can turn into an “atypical/complex” clubfoot with improper casting. Please see our pages regarding red flags and “atypical/complex” clubfoot for more information.
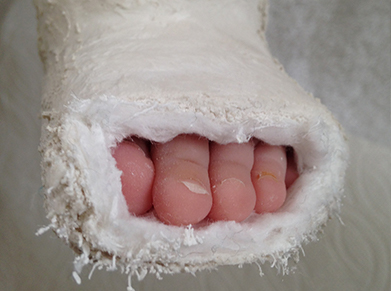
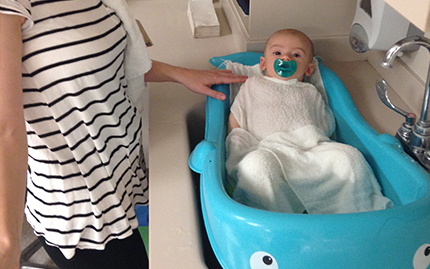
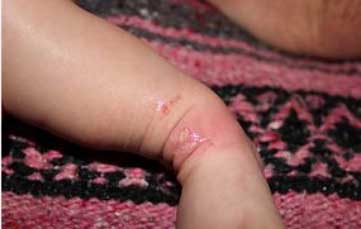
It's incredibly important that you keep the cast clean and dry to prevent chafing and possible infection. We recommend only sponge bathing babies when they are in their casts. Many doctors’ offices will allow you to bath the baby when the cast is removed at the appointment. If water does get in the casts, use a blow dryer on the cool setting and call your doctor.
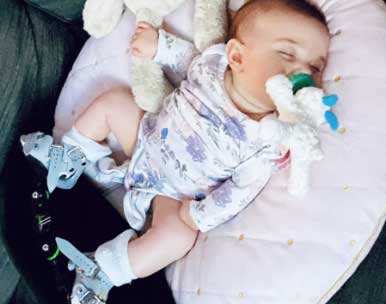
Many use short or long-sleeved onesies. Wide-legged pants, stretchy pants, loose fitting leggings, and elastic waistband pants will work. Leg warmers or a long sock will protect the cast from diaper leakage. Footed pajamas can still work (you may need one size bigger), and regular swaddles will also work. Button-up pajamas are also helpful!
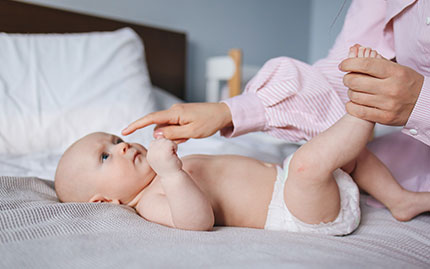
Change diapers often to make sure nothing leaks on the cast. You can use a diaper cover over the diaper. Use a wet wipe to clean the cast. The top of the cast should be outside your baby’s diaper.
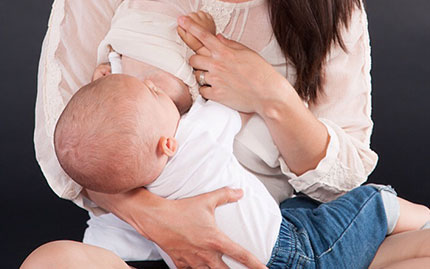
You can still breastfeed your child with little adjustments! Cover the cast with a leg warmer or long sock to keep the cast from irritating you. Using a breastfeeding pillow also helps. If one position doesn’t work, try new ones to get comfortable.
Roll up a towel or small pillow and put under the cast if it is safe for the baby. This will help to support the feet and legs and to make your baby comfortable.
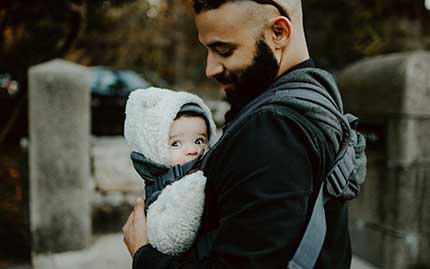
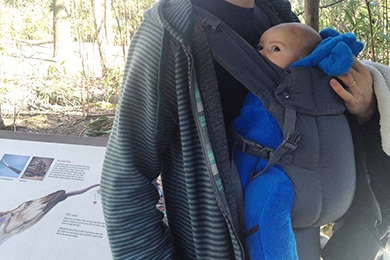
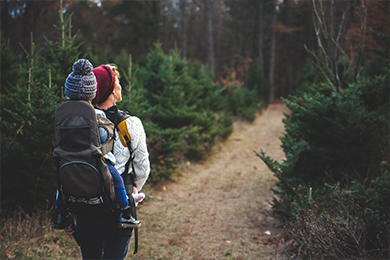
Babywearing can still be done with a clubfoot baby! It is important you make sure the hips are supported. Check out our baby-wearing page for more information.
 |
 |
|
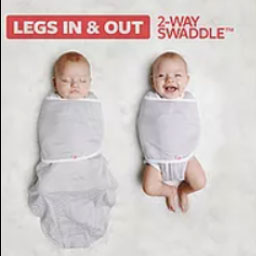
Legs In & Out |
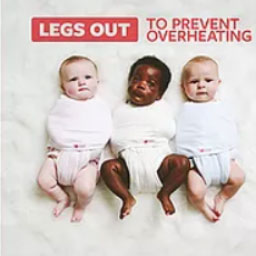
Legs Out |
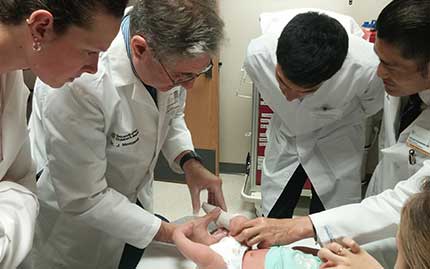
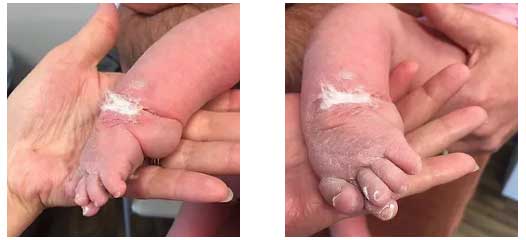
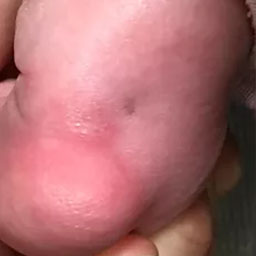
The Achilles tendon, located in the back of the heel, is short and tight in a clubfoot and is resistant to stretching. As a result, approximately 80-90% of clubfoot children require the release of this tendon with a procedure called a percutaneous tenotomy (cutting of the tendon through the skin). This is the final step in the correction process. Most describe this procedure as a poke to the back of the heel, and it takes no more than 10 minutes to complete. The doctor will use a thin scalpel to cut the Achilles tendon. Following the tenotomy, a final cast will be placed on the foot to allow the tendon to grow back in a longer position and will be on for 3 weeks. For most children, the current method of clubfoot treatment does not require them to have surgery beyond a tenotomy. Your child will most likely come home right after this procedure.
Most doctors provide this option. Usually done in the doctor’s office while the child is awake and with either a numbing cream or a shot of pain relief. Discuss oral pain relief when you go home with your doc. Bring the same items you would to a regular casting visit.
Some parents prefer that their child is put asleep for this procedure. Your doctor/hospital will provide you with information regarding this process, including scheduling and how soon before the procedure they can eat. Bring the same items you would to a regular casting visit. You can ask the anesthesiologist/doctor what type of anesthesia they will use (gas or needle).
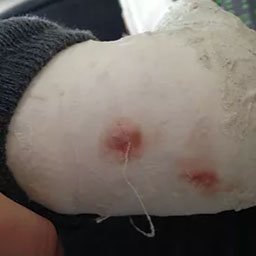
The tendon reattaches at proper length in a few weeks while the child is in the post-tenotomy cast. The post-tenotomy cast is applied after and there may be a small amount of bleeding that gets absorbed by the cast. The stain could be a quarter size or larger. This cast stays on for approximately 3 weeks. When this cast is removed, you can expect an overcorrected foot; this is normal and the child should go into the brace stage (boots and bars) immediately to maintain correction. The desired result is 10-20 degrees of dorsiflexion (foot pointing up and 60-70 degrees of abduction (foot pointing out).
Congratulations on starting the Boots and Bar (BNB)! Wearing BNB is critical for treatment to be successful. Clubfoot will relapse, or come back, if a foot-abduction brace (FAB) is not implemented. A brace does not correct clubfoot, therefore the feet must be completely corrected before entering this phase. The boots, also referred to as AFOs (ankle-foot orthoses), are only effective when attached to the bar.
When children begin BNB, they may be fussy. The child may have sore muscles and/or sensitive skin from the casts. They may be uncomfortable and possibly frustrated until they figure out how to move both feet simultaneously. It can take a few weeks to adjust. Discuss with your orthopaedic doctor and/or pediatrician about the use of a pain reliever such as Tylenol. If you suspect there is something wrong, and/or the child is inconsolable, call your doctor immediately.
Full Time:
23 hours a day for 3 months.
Weaning:
Slowly weaning to less hours until child is walking.
Part Time:
Nights and naptime, or just nighttime (12-14 hours) until the child is 4 or 5 years old.
Some parents choose to continue part time wear until the child sizes out of the AFO boots.
These tutorials are designed to assist you during the Boots and Bar phase
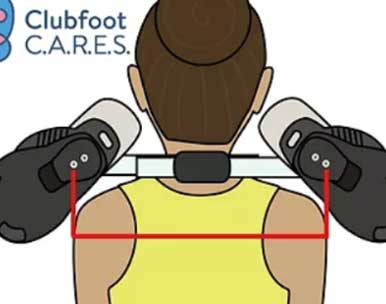
The bar width (the distance between the inside edges of the heels of the boots) should be the width of the child’s shoulders. This distance is what is comfortable for the child and prevents knee or hip problems. If you lay the brace on the floor with the boots facing upward, the child’s shoulders should fit snugly in between the boots.
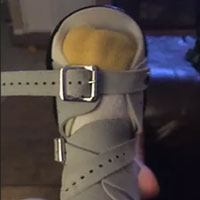
Boots should fit in both length and width like shoes. Boots that are too big or too small can cause skin issues. A little room to grow is appropriate, but boots that are too big may cause friction and sores. The toes should meet or extend past the toe strap. The leather straps stretch over time, so tightening the straps as they stretch is necessary.
The heel should be flat against the back of the boot. It may take a few weeks for the heel to “drop” and sit flush in the boot. You should see *most* of the heel through the hole in the back of the boot. Make sure the heel is firmly planted in the bend of the boot, hold in position, and tighten the middle strap first. It's important not to force the heel unnecessarily as this can cause sores.
The boots should be at an angle of either 60 or 70 degrees for a corrected clubfoot. If the child has an unaffected foot, the boot for that foot should be set to an angle of 30 or 40 degrees.
When children are in their brace at night, they may knock their brace on the side of their crib and wake themselves (or you) up. There are a couple things you can do to avoid this and save your crib from boots and bar damage. For older children, we suggest lining the wall with a yoga mat or foam pads.
As a child gets older, they may be more likely to remove their boots on their own. Depending on their age, these are some of the ways other clubfoot parents have found effective at keeping the boots on through the night.
It’s important to ensure the foot is fully corrected prior to starting BNB

There is an adjustment period with BNB. Most experience an adjustment period of a few weeks where they are fussier than usual.
Just because your baby has clubfoot, doesn’t mean you cannot babywear! When your little one is in casts as well as boots and bars, you can use any soft structured carrier that supports them ergonomically, as well as woven wraps, stretchy wraps and ring slings. Ensure that their weight is on their bottom versus their knees. Having their legs supported prevents pressure on the hips.
Examples of carriers that have panels that can be narrowed to accommodate littler babies:
Examples of stretchy wraps:
Parents/caregivers may want to seek more information or a second opinion for their child if:
A small number of clubfoot cases can be classified as atypical (as seen at birth) or complex (a result of improper casting), and are more difficult to treat. However, they should be able to be corrected without surgery with skilled adjustments and a modified casting technique. With complex cases, you will likely need to see a more skilled doctor for retreatment.
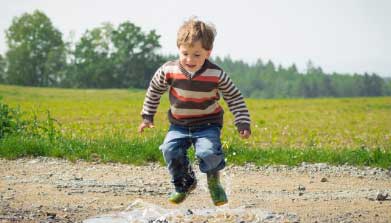
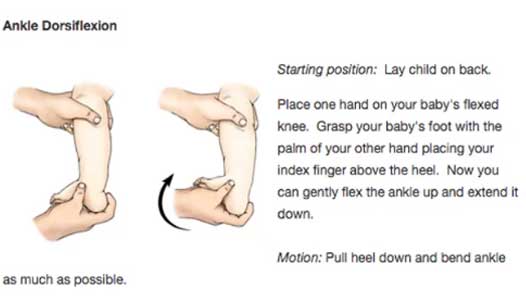
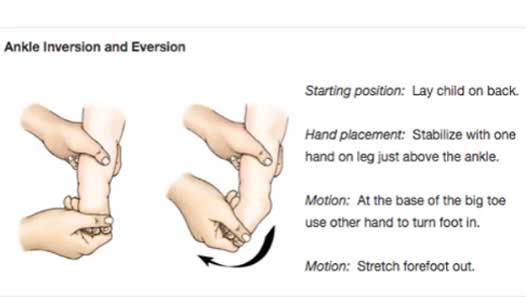
Although not officially part of the Ponseti method, many doctors recommend physical therapy and exercising as a complementary regimen to bracing. Play (think jumping, running, balancing, etc.) is a great way for older clubfoot kids to get some extra stretching in throughout their day. For stretching babies, please watch the video by Nemours below:

Clubfoot Simplified
The Parents' Guide to Clubfoot
Cogenital Clubfoot
Clubfoot

The War That Saved My Life
Trust Your Melody
Clubfoot Connections:
By: Betsy Miller & Jill Harold
Amazon or www.mdorthopaedics.com
By: Sonia Alcorn
Amazon
By: Angela Williams
Amazon
By: Karen Mara Moss and Lori Bentley
Amazon or www.mdorthopaedics.coma
By: Rebecca Harding
Amazon
By: Catherine Brown
Amazon
By: Catherine Brown
Amazon
By: Catherine Brown
Amazon
By: Chloe Howard
Amazon
By: Karen Gasperini
Amazon
By: Karen Gasperini
Amazon
By: Allie Busby
Amazon
By: Andrew Lewis
Amazon
By: Lynn Marie Nye
Amazon
Feel free to print these milestone cards out and use them in pictures to commemorate the various stages in your clubfoot journey. Be sure to tag us #clubfootcares on Instagram so we can celebrate with you!
 |
Welcome |
 |
BNB |
 |
First Cast |
 |
12 Hours |
 |
Last Cast |
 |
Done! |